Our Sister Sites 


NEED A HAND?
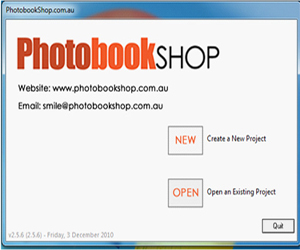
1.START A NEW PROJECT
Select to create new project if you are a first time user. If you are a returning customer with a saved
project that you want to continue work on, open an existing project.
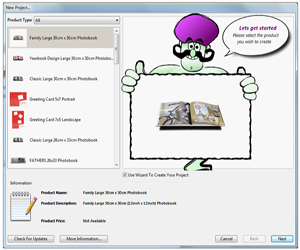
2.SELECT YOUR PRODUCT TYPE
Firstly, select your preferred book size from the drop-down list. Choose from a range of book sizes and styles consisting of hardcovers and softcovers. If the product you wish to make is not available, select 'check for updates' and select your desired product from the updates list.
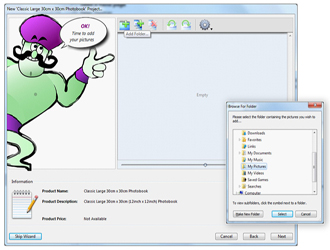
3.LOAD YOUR PICTURES
Once you have selected your product type, you need to add the pictures you wish to use. To do so, simply click on '+' icon to add pictures to your project. Once you have selected all the pictures you
wish to use, they will be added to your 'Pictures' tray.
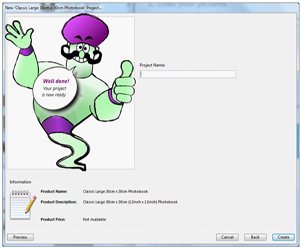
4.NAME YOUR PROJECT
You are now ready to name your project. Please note, this name will not appear anywhere on the final product.
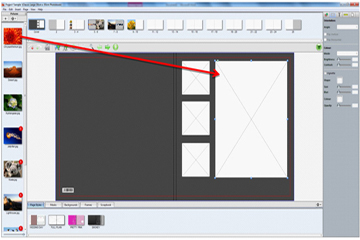
5. FILL IN YOUR PAGES
To insert a photo, simple drag-and-drop your picture into the page. Alternatively, you can select a
picture box and fill these with your pictures. You can choose to have your picture as a single picture,
background picture or spread.
TIPS: Avoid placing important objects (eg; faces, text etc) directly on the center of the spread line as the books are stitched for binding strength and pictures along this line may become curved or hidden.
6. RESIZE, CROP & ROTATE YOUR PICTURES
Resizing
Drag the resize handles at the four corners of the object to resize your picture.
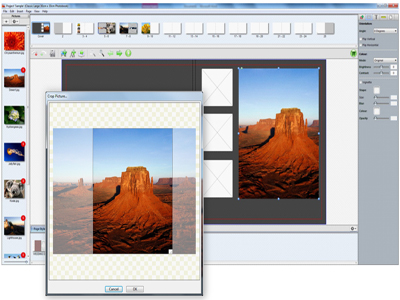
Cropping
Drag the side handle inward to crop your picture. Double click on the image to refocus the center of the image.
Rotating
Rotate the image by dragging the green handle in which-ever direction you please.
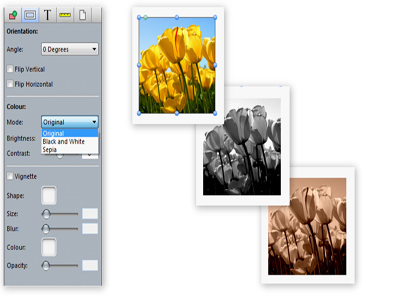
Predefined layouts
Want to give your pictures a 'different' look or feel? Why not add a special touch to your pictures by adding the Black & White or Sepia mode. Feel free to explore the image enhancement features such as Brightness, Contrast, and Vignette to highlight new results from your original images!
Drag the resize handles at the four corners of the object to resize your picture.
Cropping
Drag the side handle inward to crop your picture. Double click on the image to refocus the center of the image.
Rotating
Rotate the image by dragging the green handle in which-ever direction you please.
Predefined layouts
Want to give your pictures a 'different' look or feel? Why not add a special touch to your pictures by adding the Black & White or Sepia mode. Feel free to explore the image enhancement features such as Brightness, Contrast, and Vignette to highlight new results from your original images!
Cropping
Rotating
7. EDIT PICTURES
Why not give your photos a special touch? For an unique look, consider adding Black & White or Sepia
filters. Feel free to explore the image enhancements such as Adding brightness, contrast, vignette and
adding borders to showcase new results from your original images!
TIPS: Avoid placing important objects (eg; faces, text etc) directly on the center of the spread line as the books are stitched for binding strength and pictures along this line may become curved or hidden.
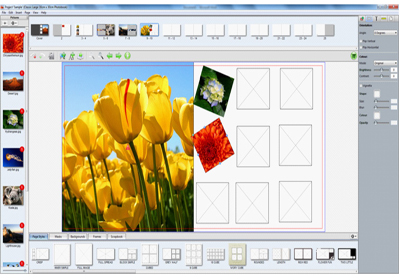
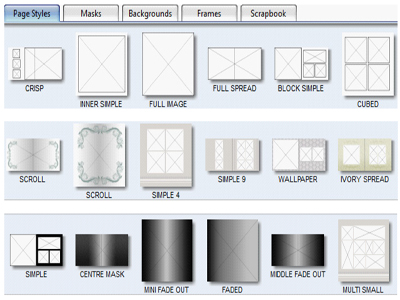
8. CHANGE PAGE STYLES, MASKS, BACKGROUNDS
You may want to start designing each page with "Page Styles". By dragging and dropping selected
styles into your book you can change the layout of your pages.
You can add a mask to a picture box or shape simply by dragging it from the library onto the picture. A mask will always scale to fit the box exactly.
You can also use either your pictures as backgrounds, or the various pre-loaded background designs from the "Backgrounds" tray located at the bottom of the page.
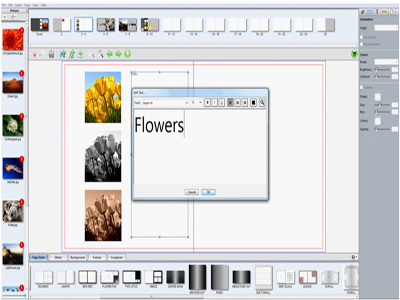
9. INSERTING TEXT OR CAPTIONS
You can add special detail to your book by adding text or captions. The software automatically loads all
font types allowing you to change the size and colours. To add a text box, select insert then text box.
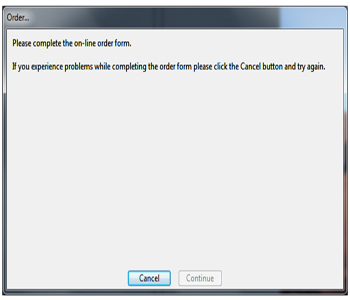
10. PLACE YOUR ORDER AND MAKE PAYMENT
First, check your order for any blank picture boxes or incomplete pages. To do so, select 'file' and
'check order'. To order your project, select 'file' and 'order' and follow the prompts. You will be directed
to our webpage to login and complete the order and payment process.


Copyright © 2023 PhotobookShop Pty Limited. All rights reserved.

CUSTOMER TESTIMONIALS